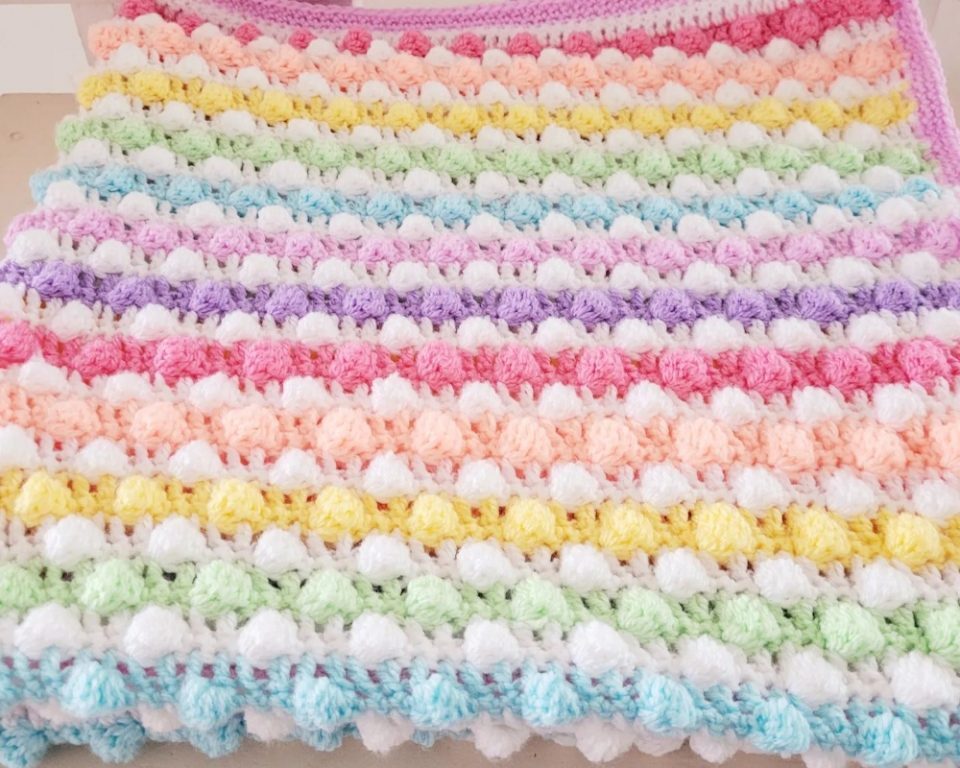
Rainbow Baby Blanket
If you’re looking for a colorful and cozy project to create for a little one, a crochet rainbow baby blanket is a great choice. Not only is it a fun and creative project, but it also makes for a practical and useful gift. In this article, we’ll explore the steps for creating your very own crochet rainbow baby blanket, as well as some tips and tricks to help make the process go smoothly.
Advertising
Step 1: Choose Your Yarn
The first step in creating a crochet rainbow baby blanket is choosing your yarn. While you can certainly use any type of yarn you like, it’s a good idea to choose a soft and washable yarn that’s suitable for babies. Some popular options include cotton, bamboo, and acrylic yarn. For a rainbow effect, choose yarn in the colors of the rainbow (red, orange, yellow, green, blue, and purple).
Step 2: Select Your Crochet Hook
The next step is to select your crochet hook. The size of your hook will depend on the weight of your yarn. Be sure to check the label on your yarn to determine the recommended hook size. In general, a G or H hook is a good choice for worsted weight yarn.

Step 3: Chain Your Foundation Row
To get started on your rainbow baby blanket, chain a foundation row. The length of your foundation chain will depend on the size of your blanket. For a baby blanket, you’ll likely want to make a chain of around 100 stitches.
Step 4: Crochet Your First Row
Once you have your foundation chain, it’s time to start crocheting your first row. Begin by working a single crochet stitch into the second chain from your hook. Continue working single crochet stitches into each chain stitch across the row.
Step 5: Change Colors
To create the rainbow effect, you’ll need to change colors after each row. To do this, simply fasten off your first color and join your next color with a slip stitch. Then, chain one and start crocheting your next row.
Step 6: Repeat
Continue repeating steps four and five until your blanket is the desired length. To create a traditional rainbow pattern, work your rows in the following order: red, orange, yellow, green, blue, and purple. However, you can also mix and match the colors as you like.
Step 7: Finish Your Blanket
Once you’ve crocheted your last row, it’s time to finish your blanket. To do this, fasten off your last color and weave in any loose ends.
Tips and Tricks for Crocheting a Rainbow Baby Blanket
Use a stitch marker to keep track of the first stitch in each row.
To create a straight edge, work your first stitch of each row into the same stitch as your turning chain.
To create a thicker blanket, you can hold two strands of yarn together while crocheting.
If you’re new to crochet, practice the single crochet stitch before starting your blanket.
Be sure to check your gauge before starting your blanket. Adjust your hook size as needed to match the recommended gauge on your yarn label.
Optimizing Your Article for SEO
Crochet Rainbow Baby Blanket: A Perfect Gift for Your Little One
If you are looking for a perfect gift for your little one or someone close who is expecting a baby, a crochet rainbow baby blanket is the way to go. Not only is it a practical gift, but it also adds a splash of color and warmth to the nursery. Here’s everything you need to know about making a crochet rainbow baby blanket.
Materials Needed
To make a crochet rainbow baby blanket, you will need:
5 balls of soft acrylic yarn in rainbow colors (red, orange, yellow, green, blue, and purple)
A size J/6.0mm crochet hook
Scissors
Yarn needle
Step-by-Step Guide
Begin by chaining 100 stitches using the red yarn.
Once you have 100 stitches, double-check that your chain is not twisted, and then slip stitch into the first stitch to create a loop.
Chain two stitches, then make a double crochet into the third stitch from the hook.
Double crochet into each stitch across the chain, and then slip stitch into the second chain stitch.
Change the yarn color to orange, chain two stitches, and then make a double crochet into the next stitch.
Double crochet into each stitch across the row, and then slip stitch into the second chain stitch.
Repeat steps 5-6 for yellow, green, blue, and purple yarns.
Once you have finished the last row of purple yarn, chain two stitches, then make a double crochet into each stitch across the row using the red yarn.
Repeat step 8 for one more row of red yarn.
Cut the red yarn, leaving a tail, and weave in the end.
Cut a length of each color yarn, about 6 inches long, and tie them together in a knot at one end.
Using the yarn needle, weave the knotted end of the yarn through the edge of the blanket, about every inch or so.
Once you have gone around the entire edge of the blanket, tie the yarn ends together in a knot, and trim the excess.
Weave in any remaining ends, and your rainbow baby blanket is complete!
Access the step by step here.
If you liked this crochet pattern, but want to see some more options, below you will have other options:
We wish all our readers an excellent week, full of God’s blessings in their homes, good health, peace, love, harmony and, mainly, many and many handicraft patterns with crochet threads. Good crocheting to all, sincerely Mommy Crochet!


