Crochet Tropiliquare
Crochet Tropiliquare: A Step-by-Step Guide
Advertising
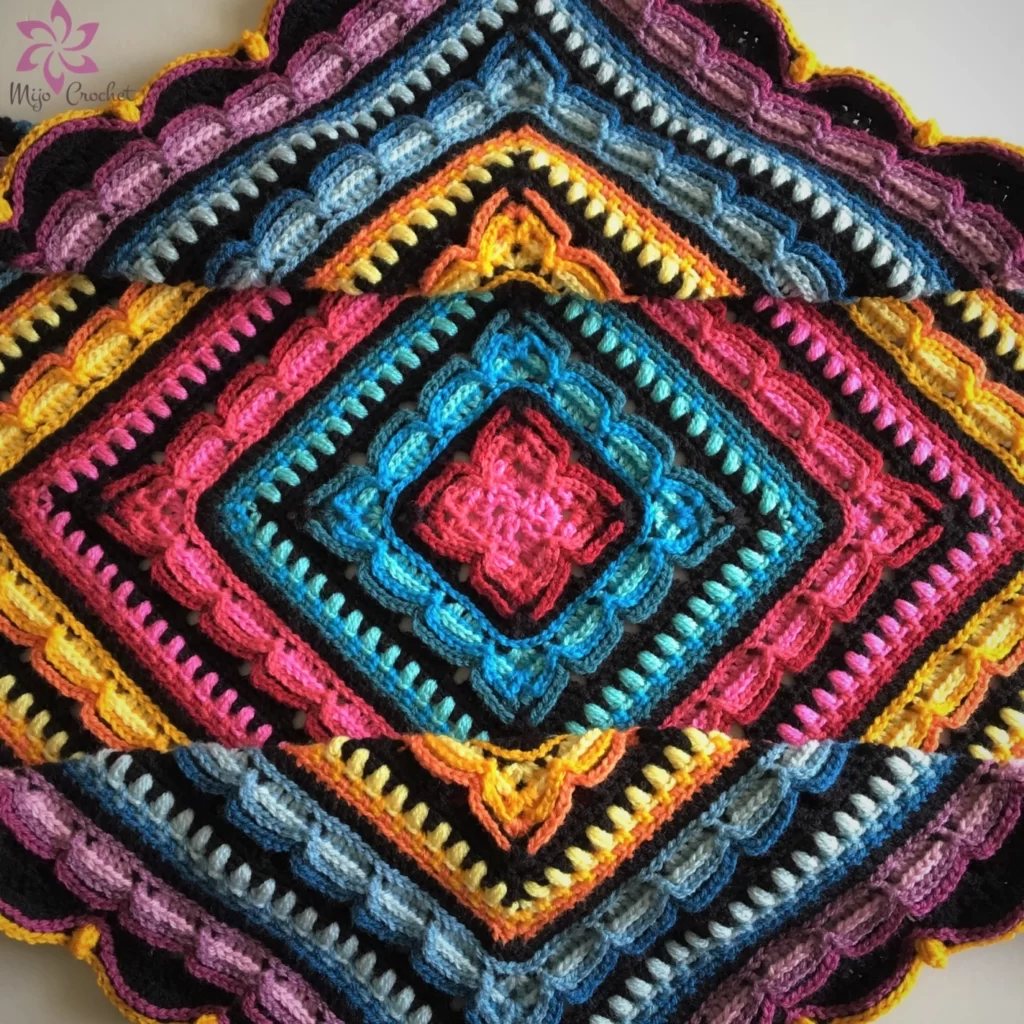
Crocheting is a wonderful craft that allows you to create beautiful and useful items with just a hook and some yarn. One popular project for crocheters is the Tropiliquare, a square-shaped motif that can be used to create blankets, afghans, and other cozy items. In this article, we will guide you through the process of making a Crochet Tropiliquare, including the materials you’ll need, the steps to follow, and some helpful tips along the way.
Materials Needed:
- Worsted weight yarn in your desired color(s)
- A crochet hook in the appropriate size for your yarn (usually a 5mm or 6mm hook)
- Scissors
- Yarn needle (for weaving in ends)
Step 1: Make a Magic Ring The Tropiliquare motif is started with a magic ring, which is a technique for creating a secure center for your work. To make a magic ring, start by making a loop with your yarn, leaving a tail of about 6 inches. Hold the loop in your left hand and insert your hook into the loop. Then, yarn over and pull up a loop, making sure to keep the tail of the yarn behind your work. Yarn over again and pull through both loops on your hook. This creates a secure ring that you can work your first round into.
Step 2: Work the First Round In the first round, you will create a cluster of double crochets (dc) that will form the corners of your square. To do this, chain 2 (counts as first dc) and make 2 dc in the magic ring. Then, chain 2, and make 3 dc in the ring. Repeat this sequence two more times (2 dc, ch 2, 3 dc), and join with a slip stitch to the top of the beginning chain 2. This will create four clusters of dc with ch 2 spaces between them.
Step 3: Work the Second Round In the second round, you will create the sides of your square by working into the ch 2 spaces from the previous round. To do this, chain 2 (counts as first dc), then make 2 dc in the same ch 2 space. Then, make 1 dc in each of the next 3 stitches (the middle dc of the 3-dc cluster from the previous round, the ch 2 space, and the next middle dc). In the corner ch 2 space, make 3 dc, ch 2, and 3 dc. Repeat this sequence for each side of the square, and join with a slip stitch to the top of the beginning chain 2.
Step 4: Work the Third and Fourth Rounds In the third round, you will repeat the same pattern as the second round, but with an additional dc stitch in each side. This will make the square slightly larger. In the fourth round, you will create the final round of the Tropiliquare by working 1 dc in each stitch around, with 3 dc, ch 2, 3 dc in each corner ch 2 space. Join with a slip stitch to the top of the beginning chain 2.
Step 5: Finish and Weave in Ends To finish your Tropiliquare, cut your yarn leaving a tail of about 6 inches. Use a yarn needle to weave in the ends by threading the tail through several stitches on the back side of the square, then trimming any excess yarn. Your Tropiliquare is now complete!
Helpful Tips:
If you’re new to crocheting, it may be helpful to watch video tutorials of each step to get
Crocheting is a popular craft activity that can be enjoyed by individuals of all ages and skill levels. One popular project for crocheters is the tropiliquare, a colorful square made using a variety of crochet stitches. With a few basic supplies and some patience, even beginners can create a beautiful tropiliquare. In this article, we will provide a step-by-step guide on how to make a 600-word crochet tropiliquare.
Supplies Needed:
Worsted weight yarn in various colors
Size G (4mm) crochet hook
Scissors
Yarn needle
Step 1: Starting the Tropiliquare
To begin making the tropiliquare, create a slip knot and chain four stitches. Slip stitch into the first stitch to create a loop. This loop will be the center of your tropiliquare.
Step 2: First Round
For the first round, chain three stitches, then work two double crochet stitches into the center of the loop. Chain two stitches, and then work three double crochet stitches into the center of the loop. Repeat this pattern two more times to create a total of four sets of three double crochet stitches separated by two chain stitches. Slip stitch into the top of the beginning chain three to close the round.
Step 3: Second Round
For the second round, chain three stitches and work one double crochet stitch into each of the next two stitches. Then, work two double crochet stitches into the chain two space from the previous round. Chain two stitches, and then work two more double crochet stitches into the same chain two space. Continue this pattern, working one double crochet stitch into each of the next three stitches, followed by two double crochet stitches, chain two stitches, and two more double crochet stitches in the next chain two space. Slip stitch into the top of the beginning chain three to close the round.
Step 4: Third Round
For the third round, chain three stitches and work one double crochet stitch into each of the next three stitches. Then, work two double crochet stitches into the chain two space from the previous round. Chain two stitches, and then work two more double crochet stitches into the same chain two space. Continue this pattern, working one double crochet stitch into each of the next five stitches, followed by two double crochet stitches, chain two stitches, and two more double crochet stitches in the next chain two space. Slip stitch into the top of the beginning chain three to close the round.
Step 5: Fourth Round
For the fourth round, chain three stitches and work one double crochet stitch into each of the next four stitches. Then, work two double crochet stitches into the chain two space from the previous round. Chain two stitches, and then work two more double crochet stitches into the same chain two space. Continue this pattern, working one double crochet stitch into each of the next seven stitches, followed by two double crochet stitches, chain two stitches, and two more double crochet stitches in the next chain two space. Slip stitch into the top of the beginning chain three to close the round.
Step 6: Finishing the Tropiliquare
For the final round, chain one stitch and work one single crochet stitch into each stitch and chain space around the edge of the tropiliquare. Slip stitch into the first single crochet stitch to close the round. Cut the yarn and weave in the loose ends with a yarn needle.
Congratulations! You have successfully made a tropiliquare using crochet. You can make as many tropiliquares as you like in different colors and patterns to create a beautiful afghan or other crochet project. With practice, you can create more intricate designs and expand your crochet skills. Remember to be patient and enjoy the process of creating something beautiful with your own two hands.
Access the step by step here.
If you liked this crochet pattern, but want to see some more options, below you will have other options:
We wish all our readers an excellent week, full of God’s blessings in their homes, good health, peace, love, harmony and, mainly, many and many handicraft patterns with crochet threads. Good crocheting to all, sincerely Mommy Crochet!