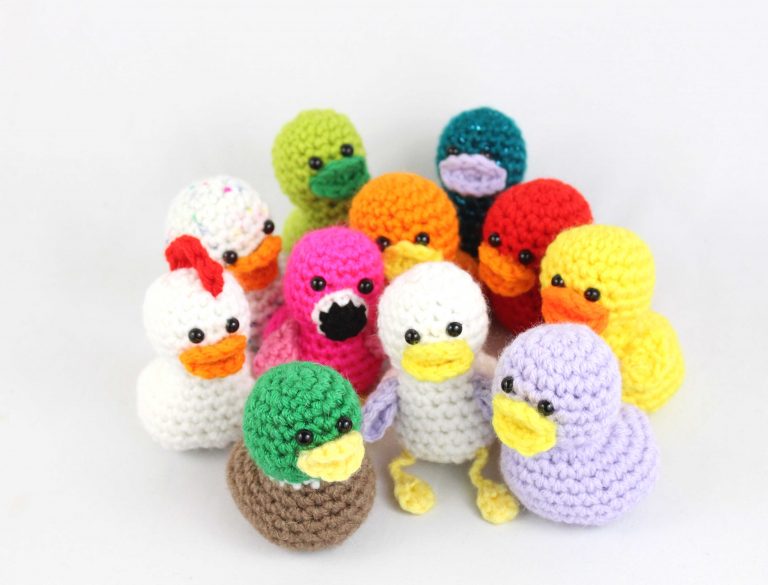
Crochet amigurumi is a popular craft that involves creating stuffed animals and other cute creatures using yarn and a crochet hook. One of the most beloved amigurumi designs is the duck. In this article, we’ll explore how to make a crochet duck amigurumi, including the tools and materials you’ll need, step-by-step instructions, and tips for making your duck look as cute as possible.
Anúncios
Tools and Materials
Before you get started on your crochet duck amigurumi, you’ll need a few tools and materials:
- Yarn: Choose a worsted weight yarn in yellow or white for the body and orange for the beak.
- Crochet Hook: Use a size G/4.00mm crochet hook.
- Scissors: You’ll need a sharp pair of scissors to cut the yarn.
- Stitch Marker: Use a stitch marker to keep track of the beginning of each round.
- Fiberfill: Use polyester fiberfill to stuff the duck.

Step-by-Step Instructions
Once you have your tools and materials ready, it’s time to start crocheting your duck amigurumi. Follow these step-by-step instructions to create your very own duck:
- Begin by making a magic ring and chaining 1.
- Make 6 single crochet stitches into the magic ring and use a stitch marker to mark the beginning of the round.
- For the next round, make 2 single crochet stitches into each stitch around (12 stitches).
- For the third round, make 1 single crochet stitch into the first stitch, and then 2 single crochet stitches into the next stitch. Repeat from * to * around (18 stitches).
- For the fourth round, make 1 single crochet stitch into each of the first 2 stitches, and then 2 single crochet stitches into the next stitch. Repeat from * to * around (24 stitches).
- For the fifth round, make 1 single crochet stitch into each of the first 3 stitches, and then 2 single crochet stitches into the next stitch. Repeat from * to * around (30 stitches).
- For the sixth through tenth rounds, make 1 single crochet stitch into each stitch around (30 stitches per round).
- For the eleventh round, make 1 single crochet stitch into each of the first 3 stitches, and then single crochet the next 2 stitches together. Repeat from * to * around (24 stitches).
- For the twelfth round, make 1 single crochet stitch into each of the first 2 stitches, and then single crochet the next 2 stitches together. Repeat from * to * around (18 stitches).
- Stuff the duck with fiberfill.
- For the thirteenth round, make 1 single crochet stitch into the first stitch, and then single crochet the next 2 stitches together. Repeat from * to * around (12 stitches).
- Cut the yarn and use a yarn needle to weave the end through the remaining stitches.
- For the beak, make a chain of 6 stitches in orange yarn.
- Make a slip stitch in the second stitch from the hook and then single crochet in the next stitch.
- Half double crochet in the next stitch, double crochet in the next stitch, and then triple crochet in the last stitch.
- Cut the yarn and leave a long tail for sewing.
- Use the tail to sew the beak onto the front of the duck.
- Use black embroidery floss to stitch two eyes onto the duck.
Access the step by step here.
If you liked this crochet pattern, but want to see some more options, below you will have other options:
We wish all our readers an excellent week, full of God’s blessings in their homes, good health, peace, love, harmony and, mainly, many and many handicraft patterns with crochet threads. Good crocheting to all, sincerely Mommy Crochet!


